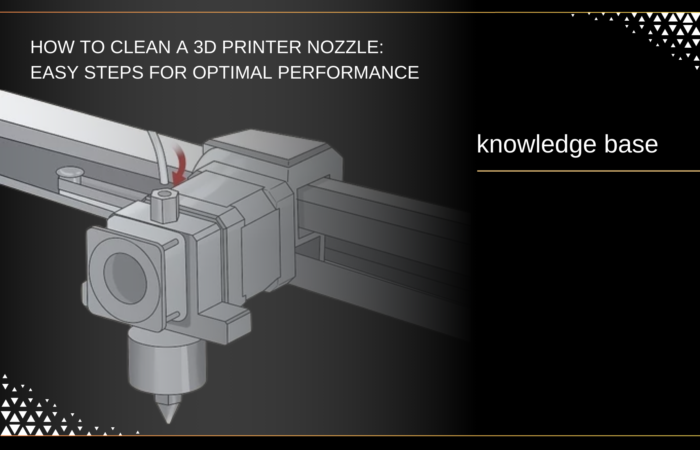
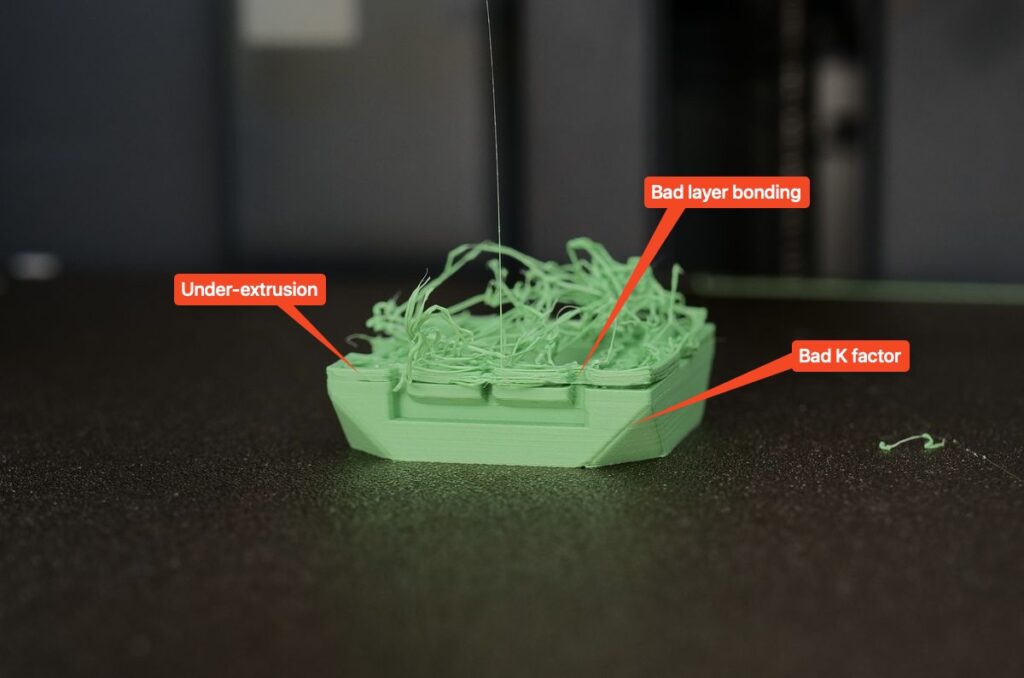
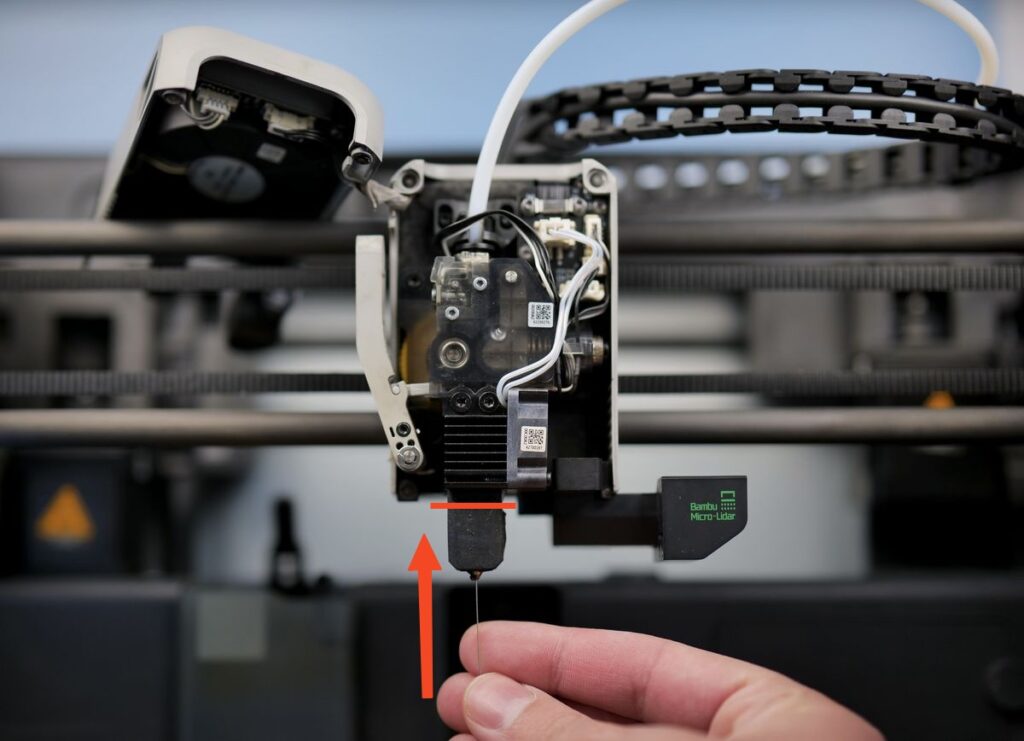
How to Clean a 3D Printer Nozzle: Easy Steps for Optimal Performance
4.
How to Clean a 3D Printer Nozzle: Easy Steps for Optimal Performance
-
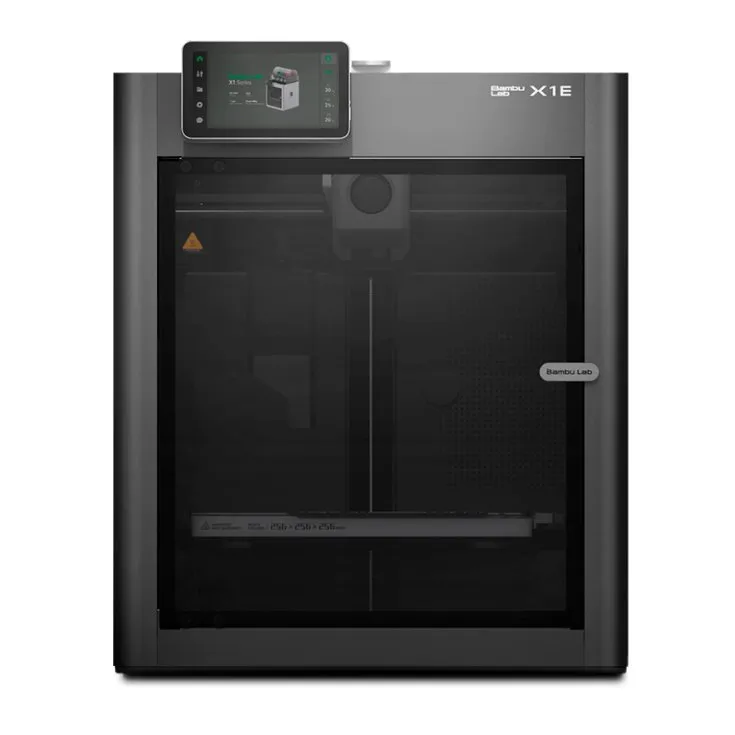
Bambu Lab X1E
For professionals and engineering applications.
-
Technology:
FFF
-
Materials:
Plastic Filaments
-
Technology:
-
Bambu Lab X1E
For professionals and engineering applications.
-
Technology:
FFF
-
Materials:
Plastic Filaments
-
Technology:
-
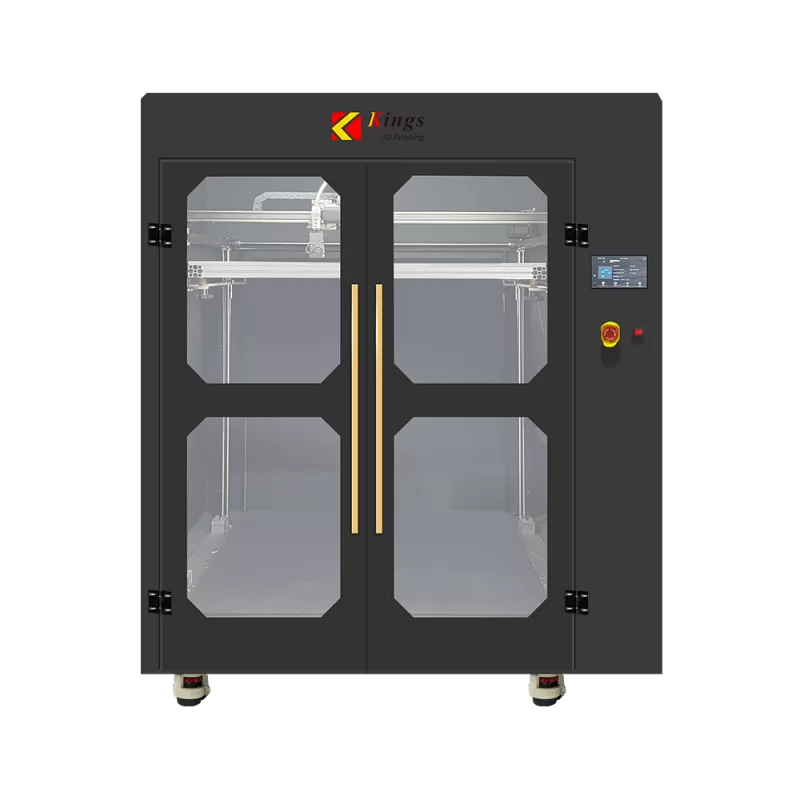
Kings FDM 3D Printer 1000
An industrial-grade FFF printer designed for large-scale, precise printing.
-
Technology:
FFF
-
Materials:
Plastic Filaments
-
Technology:
-
FDM 3D Printing – Cost-Effective Plastic Parts
Affordable and versatile 3D printing for prototypes, functional parts, and end-use plastic components.
Related Posts