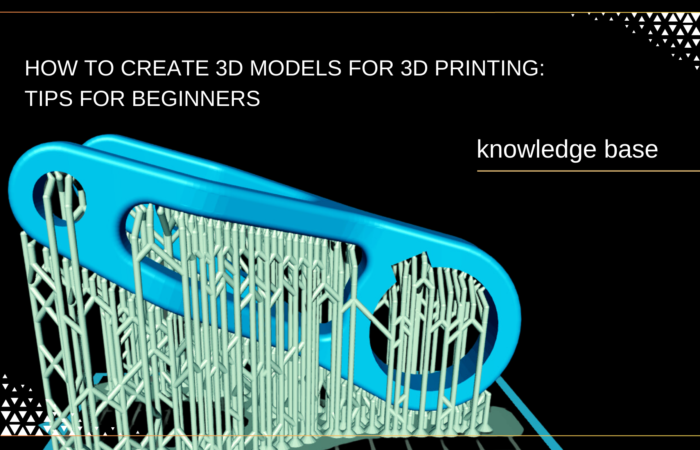
How to Create 3D Models for 3D Printing: Tips for Beginners
Creating your own 3D models for printing might seem complex, but it’s much more approachable than it looks. You can bring your ideas to life with the right tools and guidance.
Whether you’re interested in designing functional parts or simply want to create something fun, this guide will walk you through essential tips for beginners. We’ll explore the steps on how to design something for 3d printing, helping you avoid common pitfalls while making the process enjoyable and rewarding.
Understanding the Basics of 3D Modeling
Before jumping into asking yourself “how to design for 3d printing” or “how to create models for 3d printing”, it’s important to understand 3D printing or additive manufacturing. This process creates a physical object from a digital model by layering materials like plastics, resins, or metals.
The digital 3D model serves as the blueprint for your object, and proper preparation is crucial for a successful print. A well-prepared model minimizes the risk of failure or unexpected flaws during printing.
Choosing the Right Software Based on User Needs
Selecting the right software for creating 3D models is essential. Many options cater to various skill levels and purposes:
Software | Skill Level | Price | Key Features | Best For | Platform |
Beginner | Free | Simple drag-and-drop interface, web-based | Beginners, hobbyists | Web-based | |
Intermediate | Free | Open-source, vast toolset, supports animation and sculpting | Detailed modeling, animations | Windows, macOS, Linux | |
Intermediate/Advanced | Free (personal use), Paid (commercial) | Parametric modeling, assembly design, cloud collaboration | Engineering, industrial design | Windows, macOS | |
Beginner/Intermediate | Free (Basic), Paid (Pro) | Easy to use, 3D warehouse for models | Architectural modeling | Windows, macOS | |
Advanced | Paid | Specializes in high-detail models, ideal for organic shapes | Character design, detailed sculpting | Windows, macOS |
As you explore these tools, familiarize yourself with basic functions like creating shapes, modifying dimensions, and using rotation and scaling tools. Many software options offer tutorials or community forums that can be invaluable for learning tips and tricks.
Setting Up Your Modeling Environment
Getting your modeling environment ready is crucial for ensuring your 3D-printed object turns out just right. Start by adjusting the unit and scale settings in your software to avoid sizing issues during printing. Consistency in units is vital, especially when working with wall thickness and overall size.
Most software has options for setting up a grid that matches your desired size. For instance, in
Blender, you can find grid settings under “Scene”> “Units.” Many designers prefer the metric system, particularly millimeters, as it simplifies scaling for detailed models.
Whatever unit system you choose, maintain consistency throughout your project for efficient work and better printing results.
Planning and Creating Your 3D Model
Or “How to design a model for 3d printing?”
Before diving into 3D modeling, spend some time planning your design. Ask yourself what you want to create: a fun decoration, a useful tool, or a prototype for something bigger. Understanding the purpose will guide your choices.
When creating your model, begin with simple shapes and gradually add complexity. Use your software’s tools like extrude and scale to shape your design.
How do you design for 3D printing? — Start with basic structures and refine your work over time, ensuring that your design is both functional and aesthetically pleasing.
If your design includes moving parts, leave a gap of 0.2 to 0.5 mm for smooth movement. Experiment with multiple versions of your model; this trial-and-error approach will improve your current project and develop your skills for future creations.
Optimizing Your 3D Model for Printing
To ensure your 3D model prints successfully, choose the right file format. Common formats include STL, OBJ, and AMF, with STL being the most widely used due to its simplicity and compatibility with most 3D printers.
Next, check your model’s mesh integrity for issues like non-manifold geometry, holes, and intersecting faces. Tools like Meshmixer or Blender can help you analyze and repair your model, ensuring a clean mesh that prevents complications during slicing.
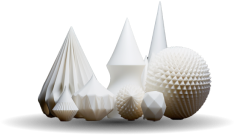
Simplifying complex models is also essential for smooth prints. While detailed designs are visually appealing, they can overwhelm some printers and lead to long print times or failures.
Aim for a balance between detail and simplicity—retain essential features while eliminating unnecessary complexity.
This approach enhances printability and speeds up the process, allowing you to bring your creative ideas to life more efficiently.
Testing and Iterating on Your Design
Before committing to a final print, conducting test prints is crucial. These small, inexpensive trials help you evaluate your design’s functionality and identify potential issues. They offer insights into fit, detail, and aesthetics.
After your test prints, analyze the results to refine your design. Focus on adjusting details, resizing components for proper fit, adjusting the 3d printing materials choice, and fixing any errors.
Choose high-quality 3d printing materials from Additive Plus’ selection.
Iteration is vital for improving quality and performance, with each test print serving as a stepping stone toward a successful final product.
Using 3D Printing Services vs. Personal Printers
As you explore these tools, familiarize yourself with basic functions like creating shapes, modifying dimensions, and using rotation and scaling tools. Many software options offer tutorials or community forums that can be invaluable for learning tips and tricks.
Factor | 3D Printing Services | Personal 3D Printers |
Initial Cost | No upfront costs; pay-per-print | Higher initial investment |
Material Variety | Wide range of materials available | Limited to printer capabilities |
Quality | High-quality results | Varies based on printer quality |
Customization | Limited to service offerings | Fully customizable designs |
Lead Time | Shipping time required | Instant printing |
Learning Curve | No learning required | Requires time to learn |
Production Scale | Ideal for scaling up | Better for small-scale production |
Troubleshooting Common Issues
Even with careful planning, issues can arise during modeling and printing. Here are some common challenges and tips to address them:
- File Format Errors: Ensure your model is saved in a compatible format for the 3D printing service. If you encounter an upload error, check the file type and adjust as needed.
- Model Integrity Problems: Structural issues like non-manifold edges or intersecting geometry can render a model unprintable. Use your software’s analysis tools to check for and fix these problems before uploading.
- Sizing Discrepancies: If your print isn’t the expected size, revisit your scaling settings to ensure dimensions match your desired specifications.
- Material Limitations: 3d printing materials have specific properties, including strength, flexibility, and minimum wall thickness. Ensure your design adheres to these guidelines to avoid weak prints.
By anticipating these challenges and knowing how to troubleshoot them, you can enhance your modeling and printing experience and ensure a smoother process from design to final product.
Achieving quality in 3D printing
Creating 3D models for printing can feel overwhelming, especially when focused on achieving quality results. The journey starts with understanding the basics and choosing user-friendly software that suits your skills.
Thoughtful design planning helps you avoid common pitfalls, and optimizing your models through test prints can lead to impressive outcomes.
Investing in high-quality equipment and materials is essential for those printing at home to prevent wasted time and resources. If you’re hesitant to dive in alone, partnering with a reliable 3D printing service can save you the hassle while delivering excellent results.
As an innovative industrial integrator with over 10 years of experience, Additive Plus specializes in helping businesses transition to 3D technologies seamlessly. We have worked with brands like Farsoon Technologies and Kings3D, offering solutions for various materials—from metals and polymers to ceramics.
With our 3D Printing Laboratory in Los Angeles and offices in California and Indiana, we provide a full spectrum of services, including equipment supply, facility design, and consulting.
As a woman-owned business, we prioritize diversity and innovation in all we do.
Explore our 3D printing services SLA to see how we can assist you on your additive journey, or discover our products and services to get started!
Explore What’s New in 3D Printing
Related Posts
Creating your own 3D models for printing might seem complex, but it's much more approachable…